Last updated: November 15, 2026
Quick Answer: In most cases, a vapor locked espresso machine pump can be recovered in 3 to 5 short priming cycles, plus a manual water push if needed. If the pump ran dry, start with the water reservoir, the intake tube, and a manual prime through the inlet line before you touch anything inside the chassis. On a vibratory pump such as an ULKA unit, the problem is usually an airlock in the feed path, not a dead motor. For a broader overview, see the home espresso machine diagnostics guide and the espresso machine maintenance page.
Key takeaways
- Start with the water path, not the heating side. A dry pump often just needs liquid pushed back to the inlet.
- Use the simplest prime first: a full reservoir, a seated intake tube, and a few short pump cycles.
- If gravity and normal pump cycling fail, a turkey baster or syringe can force water into the intake line.
- Stop and get service if the pump stays silent, leaks, or still will not move water after repeated priming.
- Do not keep running a dry pump for long stretches. That can turn a fixable airlock into a damaged pump.
What is vapor lock in an espresso pump?
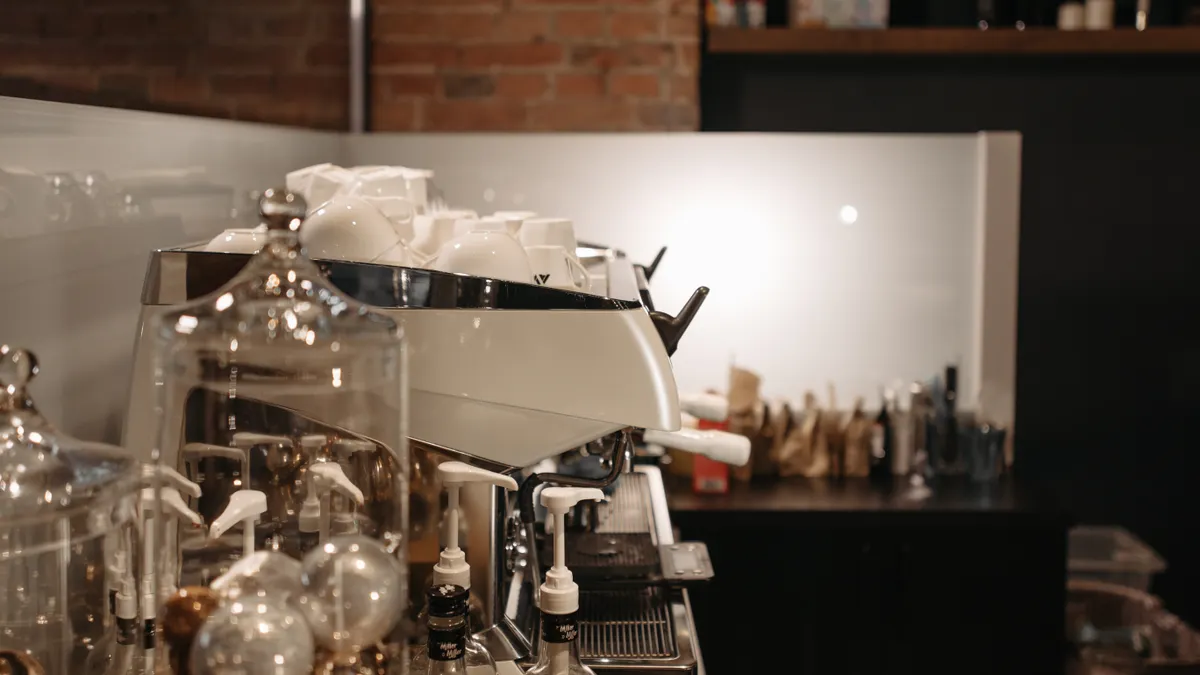
Vapor lock in an espresso pump means air has taken the place of water in the intake path, so the pump can spin or hum without moving liquid. On a vibratory pump, that usually happens after the reservoir runs empty or the intake tube pulls in air. The result is the same as a siphon losing its seal: the pump cannot build positive head pressure.
This is a plumbing problem first. The pump wants a continuous column of water from the reservoir to the inlet side, and once that column breaks, the pump may just churn air. An ULKA vibratory pump is self-priming only when the inlet side can actually feed it water; a dry or loosely seated water reservoir intake tube defeats that. ULKA’s pump documentation and service guidance describe priming and inlet conditions as water-path issues, not electrical faults.
The first check is simple: fill the reservoir, seat it all the way, and look for an intake tube that is kinked, lifted, or cracked. A tube that looks fine at a glance can still let in air at the joint. That tiny leak is enough to keep the pump from ever establishing suction. For a basic water-path checklist, the espresso machine troubleshooting page is a useful next stop.
Do not confuse vapor lock with a heater or brew issue. If water never reaches the pump head, the rest of the espresso path does not matter. This page is about forcing positive pressure through the intake tube without opening the electrical chassis, which is the right move for a dry-start problem and the wrong move for a wiring fault.
How do I prime a dry espresso pump?
Prime a dry espresso pump by restoring the water column, then helping the pump pull or receive liquid through the inlet line. The goal is to move from air to water in the pump body with the least force possible first, then step up only if the pump still will not catch.
Use this order:
- Refill and reseat the reservoir. Fill the tank above the intake port and press it into place until it sits flat. If the reservoir is even slightly off, the pump may draw air instead of water.
- Inspect the intake tube for obvious air leaks. Look for a loose barb, a split end, or a kink at the bend. A clean-looking tube with a bad seal can still be the whole problem.
- Run the pump in short bursts of 3 to 5 seconds. Turn on brew or hot-water delivery, then stop before the sound turns dry and harsh for long. Short cycles give the pump a chance to catch without overheating it.
- Tilt the reservoir end slightly if the design allows it. A small angle can help the intake stay flooded. Do not tip the whole appliance in a way that risks spills into the chassis.
- Use a turkey baster or syringe at the intake tube. Draw clean water into the tube and push it gently toward the pump inlet. The idea is to fill the line, not blast it.
- Reconnect, refill, and try another short pump cycle. If water starts moving, keep the cycle brief until the flow becomes steady.
- Repeat once if needed, then stop. If two or three prime attempts do not produce a wet, steady flow, the issue is probably more than trapped air.
The key is pressure, not force. A turkey baster priming method works because it feeds the inlet line directly, and a syringe force prime espresso machine method does the same thing with a narrower tip. Either method is trying to create a continuous water path so the pump can do its own job. If you want to compare recovery steps, the coffee machine pump repair page covers related pump symptoms.
Which priming method should I try first?
Start with the method that changes the fewest variables: normal pump cycling, then manual fill, then syringe or baster priming. The reason is simple. Every extra step adds a chance to mis-seat the reservoir, crack a tube, or splash water where it does not belong.
| Method | What it does | Best use case | Main drawback |
|---|---|---|---|
| Short pump bursts | Lets the pump recover on its own | Mild airlock after the tank ran low | May not work if the intake line is fully dry |
| Turkey baster priming method | Pushes water into the intake tube | A clear air pocket in the feed line | Can be awkward if the tube is short or hidden |
| Syringe force prime | Forces a tighter seal at the tube end | Stubborn dry-start after repeated airlock | Easy to overdo if you push too hard |
| Reservoir reseat and refill | Restores the water column | Loose tank, low water, or a bad seal | Does not help if the line is already blocked |
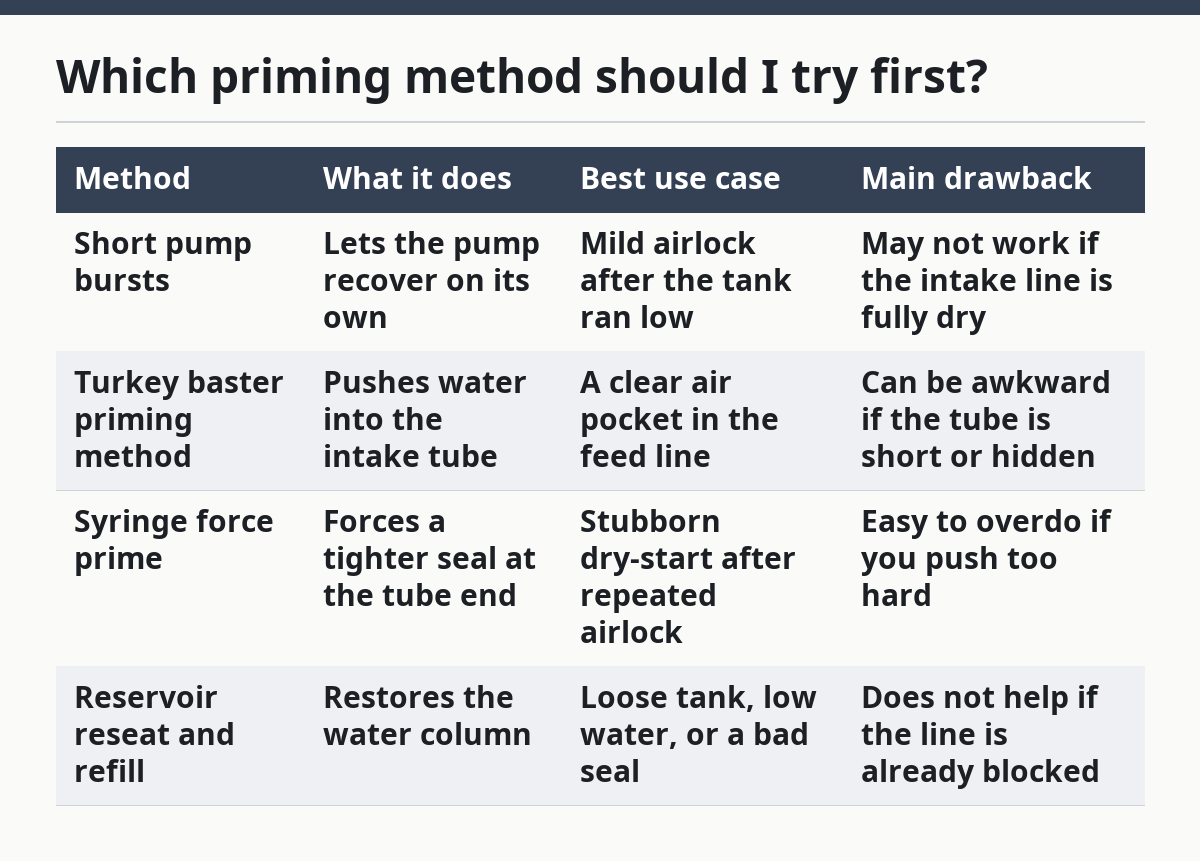
The turkey baster priming method is usually the friendliest first manual option because it moves a larger amount of water with less pressure. A syringe can work better when the tube opening is small or awkward to reach. If the machine uses a detachable water reservoir intake tube, keep the tip aligned so you do not bend the tube and create a new leak.
Do not force water fast enough to splatter air back into the line. That mistake costs time because it recreates the same airlock you are trying to clear. Think of it like controlling heat for carryover cooking: a little controlled input works better than a hard blast that overshoots the target.
What mistakes keep the pump from priming?
The most common mistake is assuming the pump is bad before checking the intake side. A dry pump can sound dead even when the fix is just a sealed water path. That mistake can send a reader straight to parts shopping when the real fix is a reseated reservoir or a 10-second manual prime.
Another mistake is running the pump for too long while it is dry. That can heat the pump head and make the problem worse, even if the motor still works. Short bursts are safer because they give you a chance to stop if the sound stays airy and the line stays dry.
A third mistake is ignoring a weak seal at the water reservoir intake tube. A split elbow, a loose connector, or a tube that is not fully seated can keep the pump from ever building pressure. If you keep priming without fixing the leak, the pump may keep pulling air the same way a straw pulls air if your finger slips off the top.
A final mistake is treating every no-flow problem as the same problem. Vapor lock is one failure mode. A clogged filter, a blocked inlet screen, or a pump that no longer vibrates strongly are different. If the pump hums but never moves water after several careful prime attempts, the next step is not more force. It is diagnosis. For that point, consult the appliance manual or a qualified repair technician, and use the machine’s service guidance before opening the chassis.
When should I stop and get help?
Stop if the pump stays silent, the same dry sound repeats after a few short cycles, or water leaks around the reservoir, tubing, or pump area. Those signs point away from a simple airlock and toward a seal problem, a damaged line, or a pump that is no longer moving correctly. At that point, more priming just adds risk.
You should also stop if the pump seems to catch for a moment and then loses prime again. That pattern usually means air is still entering somewhere on the suction side. The fix is to find the leak, not to keep forcing the line.
This is the point where home troubleshooting ends for a lot of owners. I would treat repeated failed priming as a sign to consult the appliance manual or a qualified repair technician, especially if the pump is an ULKA vibratory pump under a machine cover you would need to remove. The home-safe boundary here is simple: stay on the water path outside the chassis, and do not keep chasing a fault you cannot isolate.
For broader home diagnosis steps, the hub on home espresso machine diagnostics belongs here as the next stop, since this issue often sits next to other water-path failures rather than alone.
How do I know if an espresso pump is vapor locked?
An espresso pump is likely vapor locked if it hums, rattles, or vibrates but no water comes through after the reservoir is full and seated. That sound means the motor side is trying, but the inlet side is still full of air. If the machine ran dry first, vapor lock moves higher on the list.
A second clue is a brief spit of water followed by silence or dry noise. That usually means the pump almost caught prime, then lost the water column again. Air leaks at the intake tube, a low reservoir, or a loose connection can cause that pattern.
If the pump never changes sound and never moves water after a few careful priming attempts, the problem may not be vapor lock alone. A worn vibratory pump can sound similar to an airlocked one. Therefore, the first test is usually the simplest one: restore the water path and see whether the pump can recover without opening the chassis.
Can running an espresso pump dry damage it?
Yes, running an espresso pump dry can damage it, because the pump may keep working without the cooling and lubrication effect of water. A short dry run is not the same as a long one, but repeated dry cycling raises the risk of heat and wear. If the pump was only dry for a brief moment, priming may still solve it; if it has been run dry many times, the odds of a mechanical fault go up.
How do you know if an espresso pump is vapor locked?
You know it is probably vapor locked when the pump makes its normal vibratory sound but no water reaches the brew path after the reservoir is refilled and seated. If a turkey baster or syringe force prime brings water into the intake tube and the pump starts moving water again, that is a strong sign the issue was air in the line. If nothing changes after several careful attempts, the fault is probably beyond simple vapor lock.
Drafted with AI; not yet reviewed by a person.