Last updated: November 18, 2026
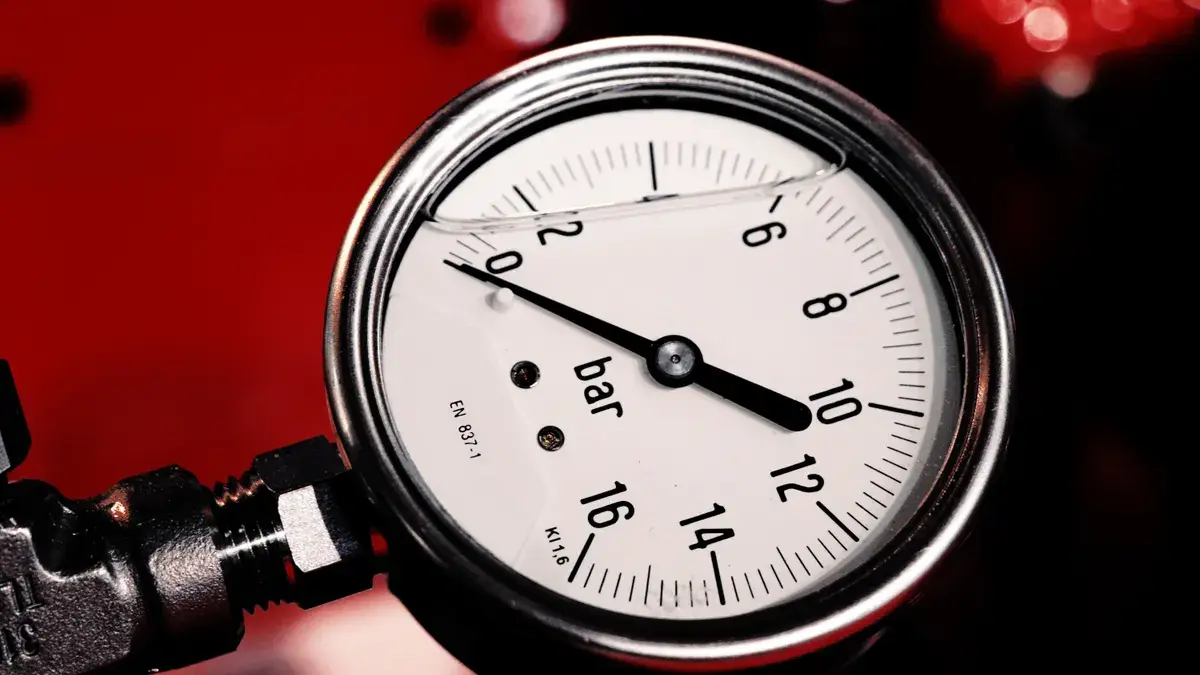
Quick answer: in a blind basket test, about 9 bar is the target many home espresso machines are set around, and low brew pressure usually points to either early OPV bypass or a pump that cannot build enough output. This guide covers How to Diagnose Low Brew Pressure on an Espresso Machine: OPV Malfunction vs Pump Failure with the blind basket test as the fastest separator. If the machine is still under warranty, has exposed wiring, or shows heat, smoke, or a burnt smell, stop there and use a qualified technician for the fault itself.
Key takeaways
- A blind basket lets the pump build pressure without coffee flow, so the gauge reading reflects the hydraulic side, not puck prep.
- If water moves into the reservoir through the silicone return line during a blind run, the OPV or expansion valve is sending water back instead of holding brew pressure.
- A vibratory pump, including many Ulka pump units, can make weak pressure when worn, noisy, or unable to move enough water.
- A portafilter pressure gauge helps compare the brew path with the pump path, which is the cleanest way to sort out valve bypass from pump weakness.
- If pressure stays low with the blind basket in place and the return line stays dry, the pump is the more likely problem.
- If the gauge still sits below about 9 bar during a blind test, the machine is not reaching a normal brew target.
Who this applies to
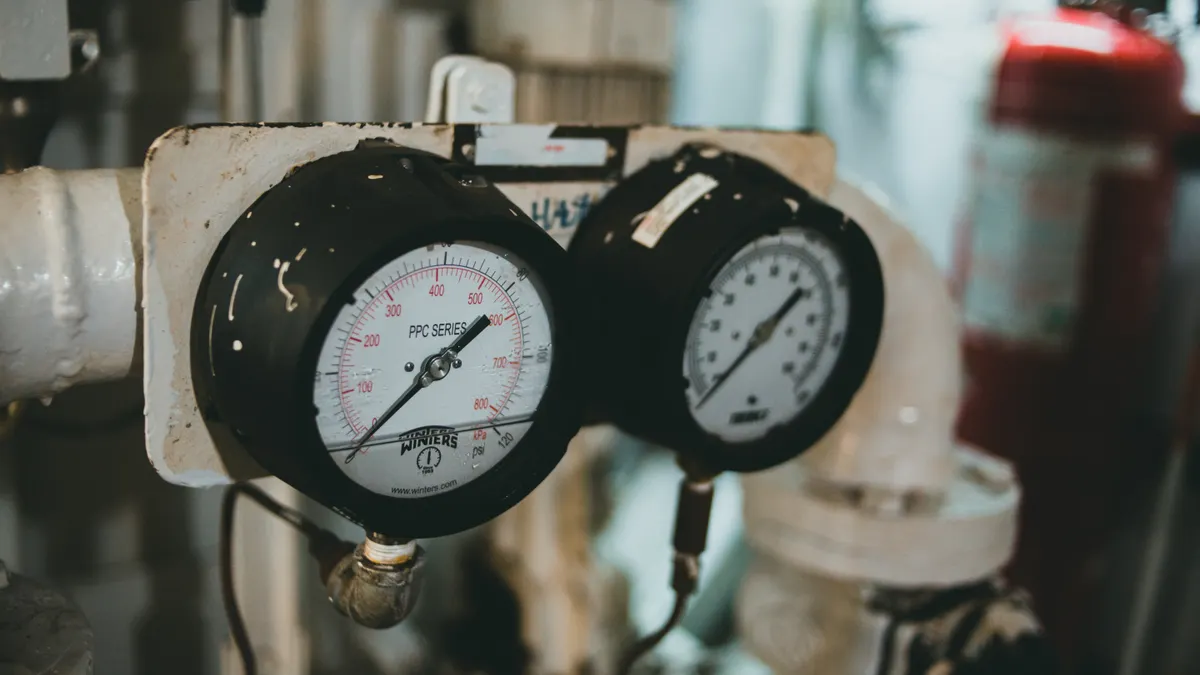
This applies to a home espresso machine owner who already has a blind filter basket, a pressure gauge or gauge-equipped portafilter, and a clear view of the silicone return line to the reservoir. It assumes the machine uses a vibratory pump and an OPV, which is common on many home units, and that the reader wants to separate a hydraulic bypass fault from pump failure rather than diagnose grind, puck, or solenoid problems. If the machine’s service sheet is unclear, consult a qualified technician before adjusting the OPV or opening the case.
The method does not fit every case. If the machine has a built-in manometer that is known to be accurate, that can replace a portafilter gauge for part of the test; if it has a rotary pump rather than a vibratory pump, the failure pattern changes. It does not answer grind size adjustment, channeling, air locks, or a stuck three-way solenoid valve, because those belong on another page.
What does low brew pressure usually mean?
Low brew pressure usually means the machine is losing pressure inside the brew circuit before water reaches the coffee puck. In plain terms, the pump may be working, but an OPV, expansion valve, hose, fitting, or the pump itself is not holding the resistance long enough to build the expected brew pressure.
On a standard espresso setup, brew pressure is the pressure at the puck during extraction, not the pressure at the pump outlet alone. That is why a blind basket matters: it removes coffee resistance and gives a cleaner read on the hydraulic system. If the gauge climbs with the blind basket, the pump is at least building pressure; if it stalls low, the pump or an upstream restriction is the stronger suspect. Many machines are calibrated near 9 bar, so a blind test is the most direct number to watch.
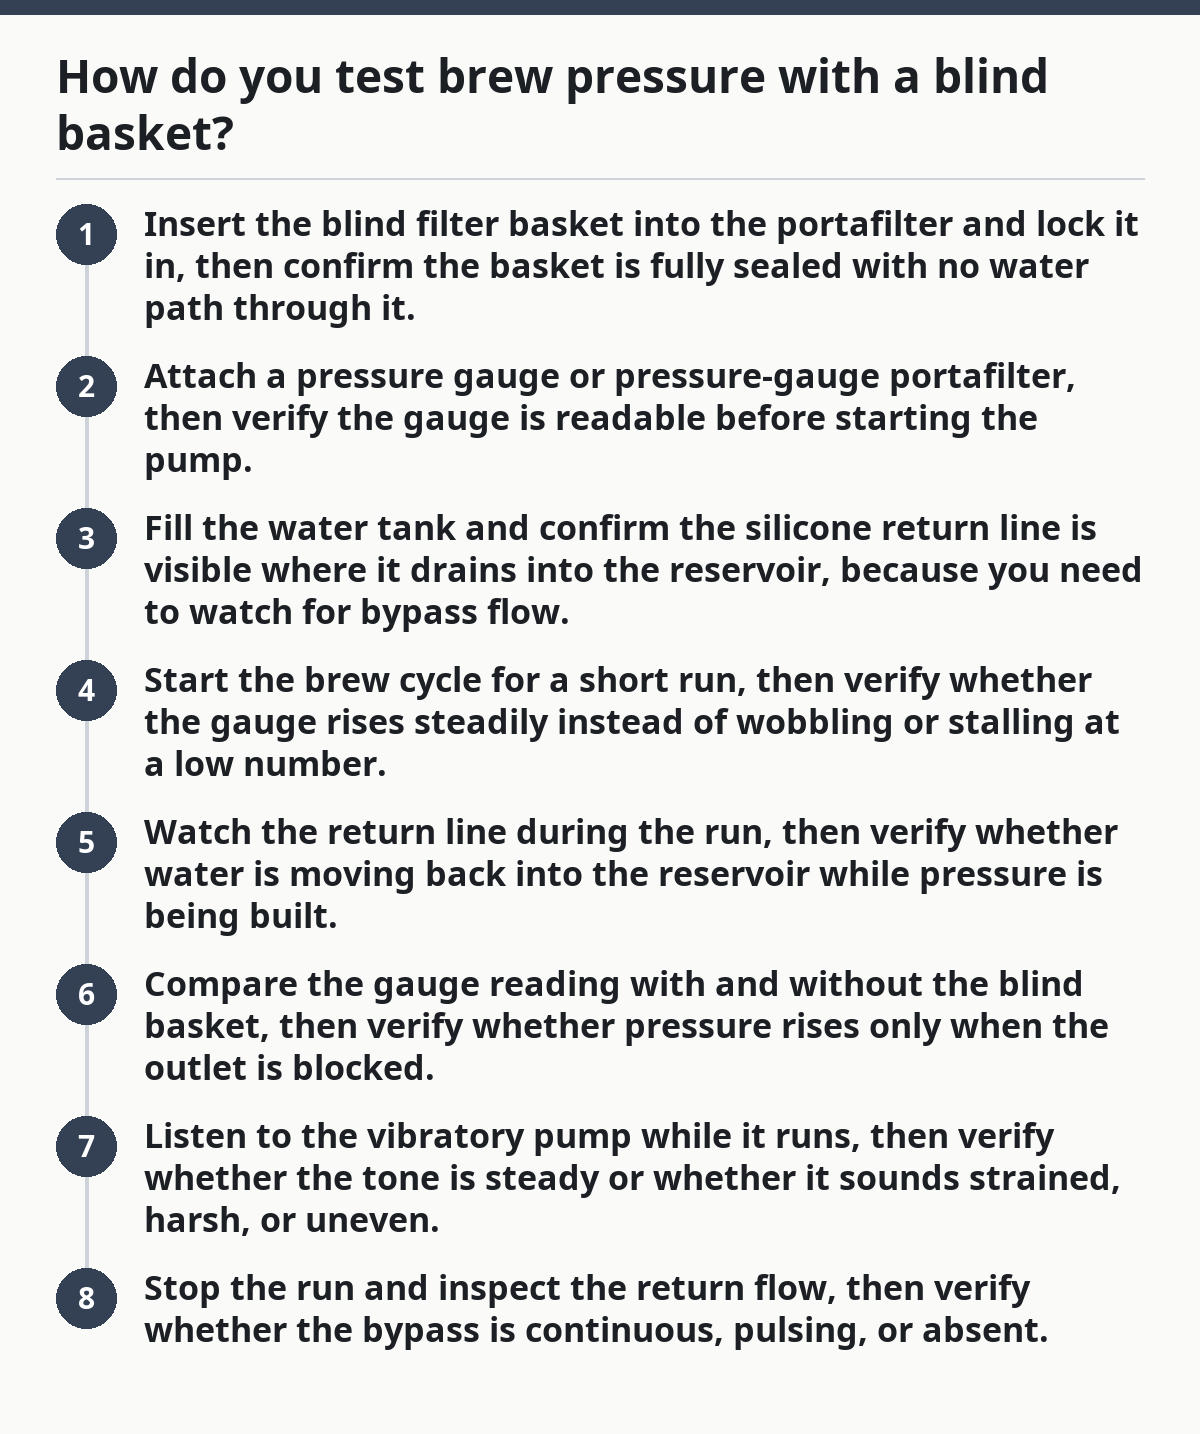
How do you test brew pressure with a blind basket?
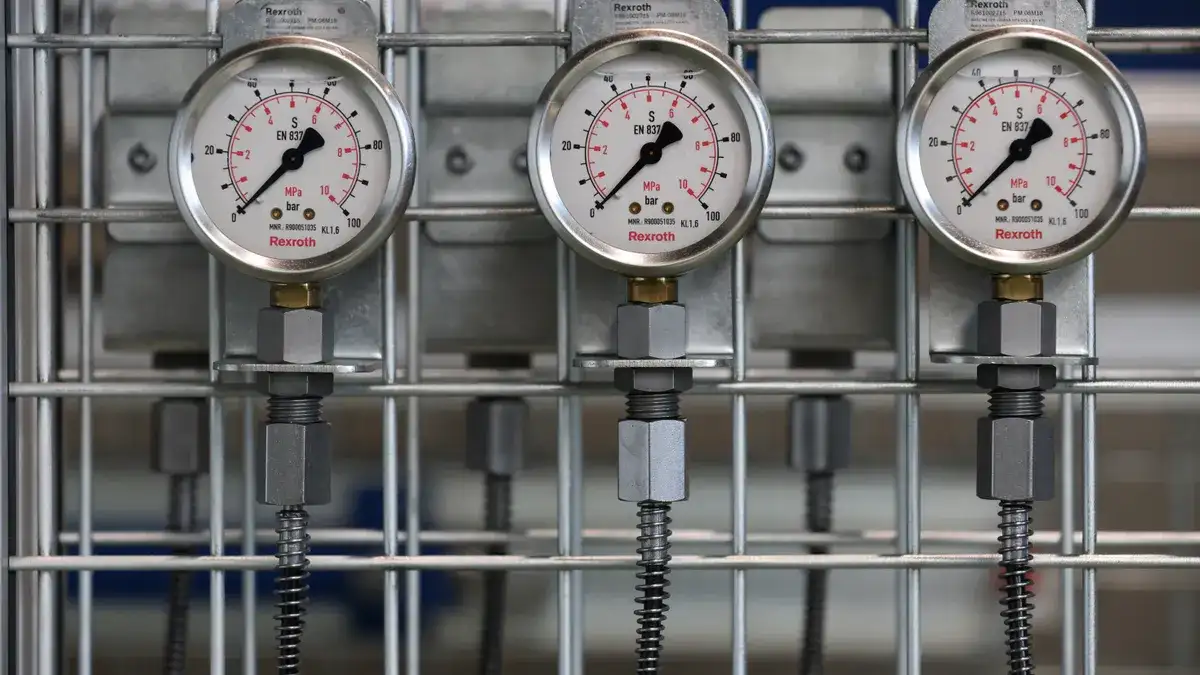
You test brew pressure with a blind basket by forcing the machine to pressurize a sealed portafilter while you watch the gauge and the reservoir return line. The point is to see whether pressure is being dumped through the OPV or never built in the first place.
- Insert the blind filter basket into the portafilter and lock it in, then confirm the basket is fully sealed with no water path through it.
- Attach a pressure gauge or pressure-gauge portafilter, then verify the gauge is readable before starting the pump.
- Fill the water tank and confirm the silicone return line is visible where it drains into the reservoir, because you need to watch for bypass flow.
- Start the brew cycle for a short run, then verify whether the gauge rises steadily instead of wobbling or stalling at a low number.
- Watch the return line during the run, then verify whether water is moving back into the reservoir while pressure is being built.
- Compare the gauge reading with and without the blind basket, then verify whether pressure rises only when the outlet is blocked.
- Listen to the vibratory pump while it runs, then verify whether the tone is steady or whether it sounds strained, harsh, or uneven.
- Stop the run and inspect the return flow, then verify whether the bypass is continuous, pulsing, or absent.
A healthy result is simple: with a blind basket in place, pressure rises and the return line may show only a controlled bypass from the OPV near the machine’s set point. On many home machines, that means the gauge can approach about 9 bar before the valve starts to divert water. A problem shows up when the gauge never rises much above the low end, the pump sounds strained, and the return line stays dry. Another problem shows up when pressure climbs and water gushes into the reservoir too soon, which points more toward valve bypass than pump weakness.
Is the OPV dumping water too early?
The OPV is dumping water too early when the blind basket test shows pressure building, but most of the flow is being sent back to the reservoir through the return hose. The overpressure valve is there to cap pressure, and on many home machines that return is normal only once the target pressure has been reached.
A leak or stuck-open condition in the OPV or expansion valve can mimic a weak pump. The key detail is that the pump still makes pressure, but the valve bleeds it off before the brew side can hold it. If the return line is active during a blind run and the gauge never settles where it should, the valve side deserves attention before the pump is blamed. This is the cleaner diagnosis when the machine uses a silicone return line that can be watched directly. Breville’s espresso support pages and La Marzocco’s technical resources both treat pressure control as a system issue, not a single-part guess.
Is the pump the weak link?
The pump is the weak link when the blind basket test shows poor pressure with little or no bypass flow back to the reservoir. A vibratory pump, including a common Ulka pump, can wear out or lose output so it no longer develops enough pressure even when the outlet is blocked.
The signal is not “the pump sounds funny” by itself. A loud buzz can come from other issues, but if the gauge stays low with a blind basket and the return line is quiet, the pump path is the stronger suspect. A portafilter gauge helps here because it shows whether the brew side ever gets near normal pressure or never gets close in the first place. If a second short test gives the same low reading, the pattern is more useful than the noise. Ulka’s pump documentation and service references describe these pumps as pressure-generating components that still depend on proper load and flow conditions.
What should be checked before going further?
The basic checks should be done before opening parts because they can save time and avoid chasing the wrong fault. Many low-pressure complaints are partly hydraulic, not purely mechanical, and a bad reading can come from something simple in the setup.
- Water supply: confirm the tank is seated and full enough for the pump pickup, because a starving pump can look weak within seconds.
- Gauge fit: confirm the gauge and portafilter seal tightly, because a leaking gauge path can read low by 1 run or more in a practical sense, even if the pump is fine.
- Return line routing: confirm the silicone return line is not kinked or stuck above the reservoir lip, because a blocked return can confuse the bypass test.
- Blind basket seal: confirm the blind basket actually seals, because a gap turns the pressure test into a false low reading.
- Temperature state: confirm the machine is at normal operating heat, because some systems behave differently while cold and can give a misleading first read.
These checks are plain but useful. If the machine still reads low after them, the fault is more likely in the OPV, expansion valve, or pump, not in the setup around the test. That is why a simple 9 bar-style blind test is more informative than a single espresso shot.
When should you stop and get help?
You should stop when the fault moves beyond a simple pressure check and into parts that are safer to inspect or replace with proper service support. These are the points where the blind basket test has done its job and the next step is not guesswork.
Water is leaking from electrical areas: that suggests a safety hazard, not just a pressure problem — unplug the unit and get qualified service.
The pump runs dry or screams repeatedly: that can damage the pump and cloud the diagnosis — stop testing and correct the supply or hand it off for service.
The return hose stays dry but the gauge never rises: that points away from OPV bypass and toward a pump or internal blockage — further disassembly may be needed.
The return hose dumps water constantly at very low gauge readings: that suggests an OPV or expansion valve fault — if adjustment is not clearly documented for the model, service is the safer path.
The machine is under warranty: opening the case can affect coverage — stop and follow the maker’s service route.
There is heat damage, scorch marks, or a burnt smell: that is not normal low pressure behavior — stop using the machine and have it checked.
What mistakes cause the wrong diagnosis?
The most common mistake is using coffee instead of a blind basket, which mixes grind, dose, and channeling into a pressure question. That can make a good pump look weak and a bad valve look innocent. The correct alternative is a sealed blind run with a gauge.
Another mistake is watching only the pressure gauge and ignoring the return line. That can hide a valve that is dumping water early through the OPV return hose. The correct alternative is to watch both at once.
A third mistake is assuming every low reading means pump failure. A pump can be fine while the OPV is bleeding pressure back to the reservoir, so replacing the pump first can waste money and time. The correct alternative is to look for bypass flow before calling the pump bad.
A fourth mistake is confusing a noisy vibratory pump with a failed one. Noise alone is a weak clue, because vibration and mounting can change the sound. The correct alternative is to use the blind basket and gauge together.
A fifth mistake is testing on a cold or partially empty tank. That can starve the pump and create a false fault. The correct alternative is to start with the water supply and operating state checked.
What changes in edge cases?
Edge cases matter when the machine does not use the standard home-espresso layout. If the machine has an expansion valve instead of a classic OPV, the return flow may behave differently, but the basic idea is the same: pressure should rise under a blind load and then be limited in a controlled way.
If the machine has a built-in brew gauge, that gauge may lag or be damped, so a portafilter gauge can still help confirm the reading. If the pump is a rotary pump rather than a vibratory pump, the sound profile changes and a weak pump may feel smoother, not harsher. If the return line is hidden or shared, you may need to trace the silicone line before the test makes sense.
The cleanest rule is still the same: pressure that builds and then diverts suggests a valve issue; pressure that never builds suggests a pump issue. That is the core of How to Diagnose Low Brew Pressure on an Espresso Machine: OPV Malfunction vs Pump Failure.
How do you separate OPV malfunction from pump failure?
You separate OPV malfunction from pump failure by asking one question: does pressure build at all when the outlet is blocked? If the blind basket test shows pressure rise and clear discharge into the reservoir through the silicone return line, the OPV or expansion valve is the main suspect. If the gauge stays low and the return line stays mostly still, the pump is the stronger suspect.
That is the whole diagnosis in one line. The blind basket removes coffee variables, the gauge tells you what pressure the brew circuit reaches, and the return line tells you where the water is going. If the pattern still feels unclear after that, the next step is not another brew shot; it is targeted service of the valve or pump path, ideally with the model’s service sheet in hand. For broader context on home espresso machine diagnostics and troubleshooting, see the home espresso machine diagnostics and troubleshooting hub.
Why is my espresso machine not building 9 bars?
It may not be reaching 9 bars because pressure is being dumped through the OPV, or because the pump cannot develop enough output under load. A blind basket and gauge make that distinction clearer than espresso shots do. If the pressure rises with a blocked outlet but never reaches the expected range, the valve path is more suspicious than the grind.
How do I know if my espresso pump is bad?
A pump is more suspect when the machine makes very low pressure with a blind basket and little or no return flow to the reservoir. A noisy vibratory pump can still be fine, so sound alone is not enough. The useful sign is a weak gauge reading under a sealed load, especially if the same result repeats twice.
Can a bad OPV cause low pressure espresso?
Yes, a bad OPV can cause low brew pressure by bypassing water too early. The machine may appear to pump normally, but the pressure never stays on the brew side long enough. A visible stream into the reservoir during a blind run is one of the clearest clues.
Drafted with AI; not yet reviewed by a person.