Last updated: November 18, 2026
Quick Answer: In 4 checks, you can usually narrow a home espresso fault to water supply, heat, pressure, or flow. This guide to Home Espresso Machine Diagnostics and Troubleshooting — The Complete Guide helps you isolate the fault before you turn screws, buy parts, or call for service. A home espresso setup with a pump, boiler, valve, and group head can fail in straightforward ways, and the clue is almost always in the symptom pattern.
Key takeaways
- Start with the symptom, not the part. A dry portafilter, a cold brew path, and a weak pump point to different failures.
- Many “bad coffee” complaints are process issues, not broken parts. Grind size, dose, and puck prep can mimic a fault.
- Water problems show up fast: no flow, spurting, odd noise, or steam with no stable brew.
- Heat problems show up in cup quality and temperature stability, not just on the front panel.
- A machine that trips a breaker, smells burnt, or leaks near wiring needs a hard stop, not another test shot.
- On a 9 bar brew path, the difference between no flow and weak flow changes the diagnosis immediately.
What is the quickest way to diagnose an espresso problem?
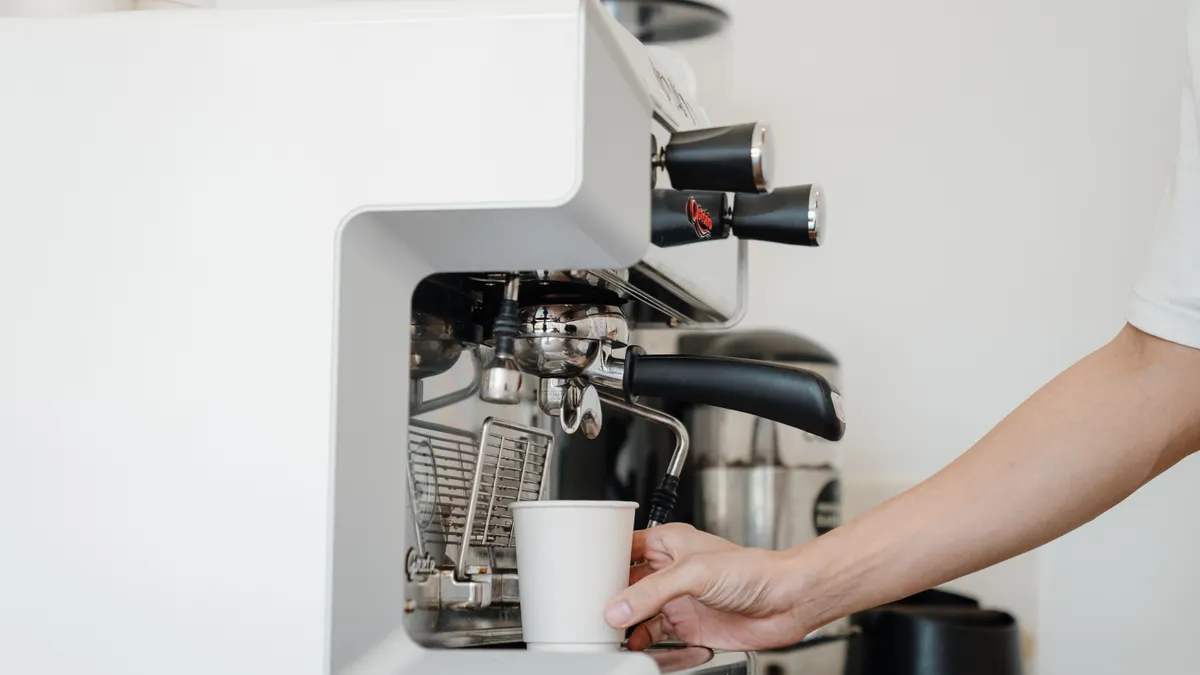
The quickest way is to identify which system failed first: water delivery, heating, pressure generation, or drainage. A machine that makes a normal pump sound but gives almost no water is not having the same problem as one that heats too slowly or produces watery shots at 9 bar. That distinction saves time and keeps the diagnosis honest.
Start with a simple pattern check. If water comes through the hot-water wand but not the group head, the blockage is likely in the brew path, not the tank. If the boiler heats but the shot tastes thin and sour, the issue may be temperature, grind, or pressure, not a dead heater. If the pump chatters, runs loudly, or loses prime, air in the line or an empty reservoir is more likely than a failed brew switch.
This kind of troubleshooting works best when you test one variable at a time. A half-turn on the grind knob, a cleaned shower screen, or a full tank can change the result enough to hide the real problem. Keep the basket, dose, and tamp consistent while you test. A symptom that appears only with one basket size or one coffee is often a workflow issue, not a machine failure.
For safety guidance on hot water, pressure, and electrical faults, the U.S. Consumer Product Safety Commission is a useful reference point, and the NSF is a good source for water and food-contact standards. Those sources do not diagnose your exact fault, but they help frame the risks before you open the case, and a qualified technician should handle any electrical or pressure fault you cannot isolate safely.
Why does the machine run but no espresso comes out?
A machine that runs but gives no espresso usually has a flow problem, a stuck valve, or a pump that cannot build prime. If the pump hums and the group stays dry, the path from tank to puck is blocked somewhere between the reservoir, inlet hose, pump, solenoid, and group screen. That is the first branch to check.
Begin with the easy failures. Make sure the tank is seated, the water line is not kinked, and the intake filter is not blocked with debris. Many machines pull through a small pickup tube, and even a thin air gap can make the pump sound healthy while delivery collapses. If the reservoir was emptied recently, the pump may need to be primed before it can move water again.
Then separate the brew path from the rest of the system. Hot water from the wand or steam valve can tell you a lot. If the wand works but the group head does not, the issue often sits in the three-way solenoid, shower screen, or brew circuit. If nothing flows anywhere, the inlet side, pump, or internal safety cutout is the more likely cause.
A weak or blocked shot can also come from the coffee bed itself. A basket packed too tight, a grind that is too fine, or a puck with clumps can stop flow and look like a mechanical fault. A good diagnostic move is to run water through the group with no portafilter installed. If water still does not emerge, the problem is inside the machine. If water flows freely, the fault is in the puck, basket, or grind.
One specific clue: a puck that comes out soup-like after a failed shot often points to low pressure or no pressure at all, not just a coffee-prep mistake. A puck that is dry and cracked after a long, stalled shot points more toward clogging or over-restriction.
Is it a coffee problem or a machine problem?
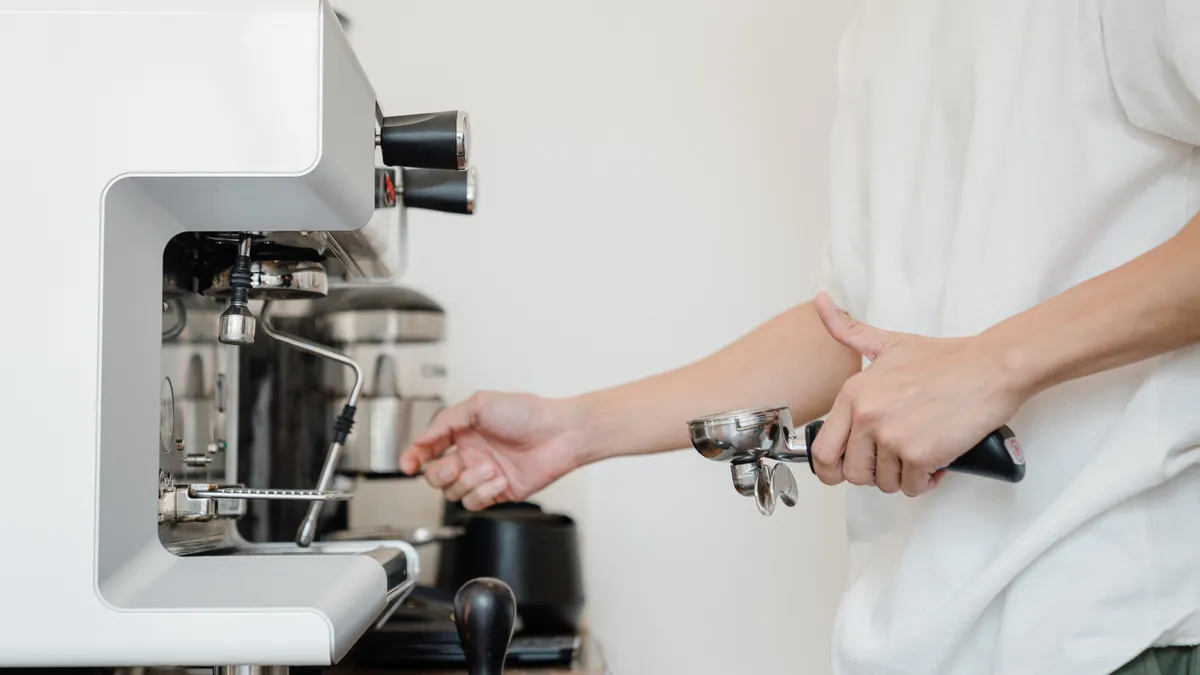
It is a coffee problem when the machine behaves normally with water but the shot is still sour, thin, bitter, or uneven. It is a machine problem when the same symptom comes with odd noise, no flow, unstable heat, or visible leaks. That difference matters because fixing the wrong side wastes time and can make the brew worse.
A coffee problem usually leaves the hardware looking normal. The pump reaches pressure, the brew light behaves, and water comes through at a steady rate. Then the shot tastes wrong because the grind is too coarse, the dose is too low, the puck channels, or the bean is stale. A machine problem is more mechanical: the temperature drifts, the pump surges, the OPV vents too early, or the valve sticks open after the shot.
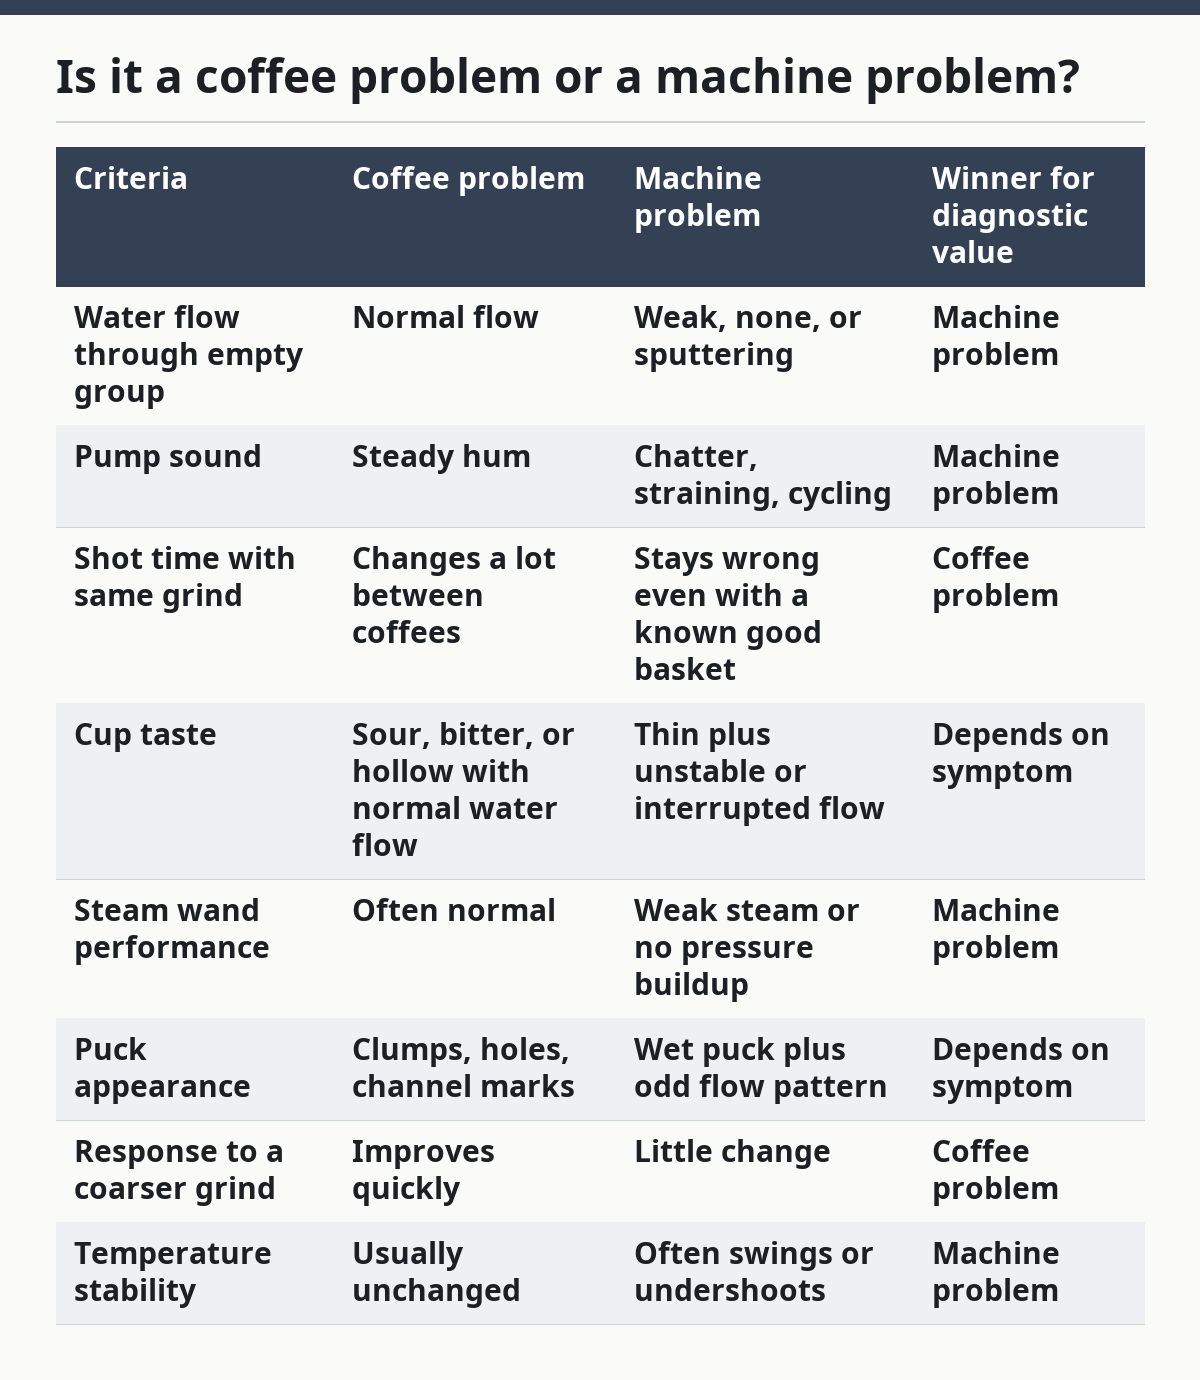
The easiest comparison is below.
| Criteria | Coffee problem | Machine problem | Winner for diagnostic value |
|---|---|---|---|
| Water flow through empty group | Normal flow | Weak, none, or sputtering | Machine problem |
| Pump sound | Steady hum | Chatter, straining, cycling | Machine problem |
| Shot time with same grind | Changes a lot between coffees | Stays wrong even with a known good basket | Coffee problem |
| Cup taste | Sour, bitter, or hollow with normal water flow | Thin plus unstable or interrupted flow | Depends on symptom |
| Steam wand performance | Often normal | Weak steam or no pressure buildup | Machine problem |
| Puck appearance | Clumps, holes, channel marks | Wet puck plus odd flow pattern | Depends on symptom |
| Response to a coarser grind | Improves quickly | Little change | Coffee problem |
| Temperature stability | Usually unchanged | Often swings or undershoots | Machine problem |
The sharpest test is a known-good baseline. Use the same basket, a reasonable grind, and a simple recipe that has worked before. If the same coffee suddenly behaves differently after a descale, deep clean, or filter change, the machine has likely shifted. If the behavior changes only when the grinder setting changes, the grinder or prep is the real target.
A generic troubleshooting guide often gets this wrong by blaming the machine for every bad shot. That leads to part swaps when the real fix is a cleaner basket, a better distribution, or a grinder adjustment. The opposite mistake is just as common: calling every fault “user error” when the pump is clearly starving or the boiler is not heating to temperature. The diagnosis has to match the evidence.
Why does the espresso taste sour, bitter, or watery?
Taste problems usually come from brew ratio, temperature, and extraction time before they come from hardware failure. A sour shot often points to under-extraction, a bitter shot to over-extraction, and a watery shot to low dose, channeling, or unstable pressure. That pattern can happen on a machine that is working perfectly.
Sour and thin shots are common when water is too cool, the grind is too coarse, or the shot runs too fast. Bitter and dry shots often come from water that is too hot, a grind that is too fine, or a shot that runs too long. The machine may still be fine if it can deliver a stable flow and a consistent temperature, because the puck itself controls much of the extraction.
Heat stability matters more than many beginners expect. If the boiler overshoots, cools, or cycles badly, the first shot after idle can taste very different from the second or third. That is why flush behavior matters on some systems. A thermostat, thermoblock, or PID-controlled boiler behaves differently, and the flavor drift tells you something about that control loop. A shot that improves after a short flush often means the brew head was too hot.
Watery coffee can come from a basket that is too large for the dose, a puck that is uneven, or a pump that never reaches proper pressure. It can also happen when the gasket is worn and water bypasses the coffee bed. If the shot sprays, side-leaks, or leaves wet grounds around the rim, the group seal or basket fit deserves attention. A 58 mm basket that does not seat cleanly will not behave like a tighter fit.
Do not skip the grinder check here. A new bag of beans, a change in roast date, or a drift in burr alignment can make the shot taste off even if the espresso maker is fine. The machine can only work with the puck it receives.
How do heating and temperature faults show up?
Heating faults show up as slow warm-up, weak steam, cold shots, or a temperature that swings from one pull to the next. If the brew light says ready but the cup is still under-extracted or the steam wand feels weak, the control system may be lying, drifting, or cycling out of range. That is a heat problem until proven otherwise.
A thermoblock, single boiler, and heat-exchanger setup do not fail in the same way. A thermoblock can struggle with repeat shots if scale blocks the water path. A single boiler can run out of brewing heat if it is switched to steam and back too quickly. A heat-exchanger machine can overheat the brew circuit during idle and need a flush before the next shot. The symptom is not “bad espresso” in the abstract; it is a specific mismatch between the brewing job and the thermal design.
The first clue is the clock. If the machine needs much longer than normal to come to temperature, the heating element, thermostat, sensor, or control board may be involved. If the machine reaches heat once but cannot hold it through a second shot, the problem may be capacity, scale, or sensor drift rather than a dead heater. If steam pressure is low but brewing still works, the fault may be localized to the steam side.
A simple check is to compare the first shot after warm-up with a second shot after a short pause. If the first shot is acidic and the second is darker and more balanced, the machine may be running too cool at first, then recovering. If the first shot is fine and later shots get worse, heat loss, scale buildup, or cycling behavior may be the issue. The same logic applies to milk steaming: weak steam on a machine that used to foam properly often points to pressure loss, a scale choke, or a control fault.
One hard stop matters here. If the machine trips a breaker, smells burnt, or the case gets unusually hot near the cord or switch, stop using it. That is no longer a flavor problem.
How do pressure and pump problems look in real use?
Pressure and pump problems show up as weak extraction, odd noise, erratic flow, or a shot that never develops the normal resistance. A pump that sounds alive is not proof that it is moving the right amount of water at the right pressure. In espresso, flow and pressure are linked, but they are not the same fault.
A rotary or vibratory pump can fail mechanically, lose prime, or be limited by a blocked inlet. The result may be a loud hum with little output, or a surging sound that changes as the shot starts. An overpressure valve that opens too early can also make the shot seem weak because water bleeds off before the puck gets proper force. That means the pump may be fine while the pressure path is not.
Watch the extraction pattern. A shot that starts dry, then spurts, then slows again points to unstable delivery. A shot that gushes immediately suggests low resistance, low pressure, or a puck problem. A shot that stalls hard and then finally drips can point to too-fine grind, scale restriction, or a valve issue. One symptom alone is not enough; the pattern matters.
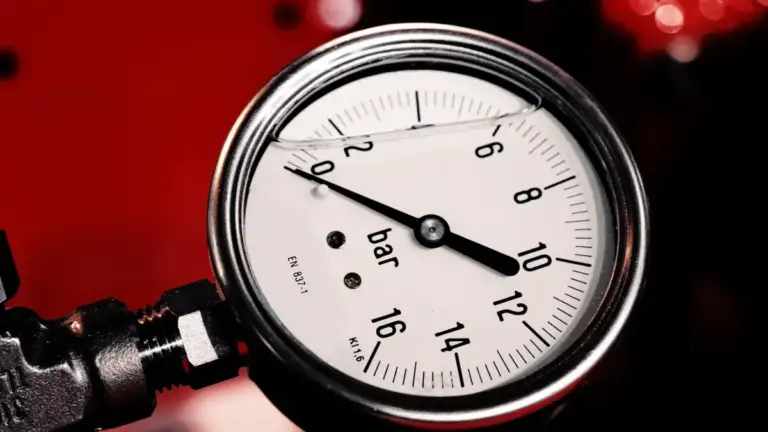
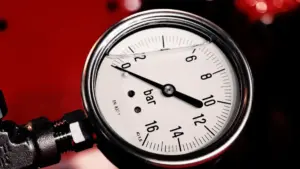
If you have a machine with a pressure gauge, use it as a clue, not a verdict. A gauge that climbs but the shot still tastes wrong can mean the gauge is only seeing system pressure, not puck behavior. A machine can hit a familiar number and still produce bad coffee if water temperature, puck prep, or channeling is off. The best diagnosis is the one that matches the gauge to the cup.
Noise is often useful evidence. Grinding or rattling sounds can suggest air in the line, a dry pump, or a loose mount. A smooth hum with no delivery is different from a harsh chatter with intermittent output. The sound pattern helps narrow the fault before parts are removed.
What should you clean, descale, or replace first?
The first things to clean are the shower screen, basket, portafilter, and water path before you replace anything expensive. Scale, coffee oils, and debris cause more false alarms than most owners expect. A dirty machine can look broken at the same time a broken machine looks dirty.
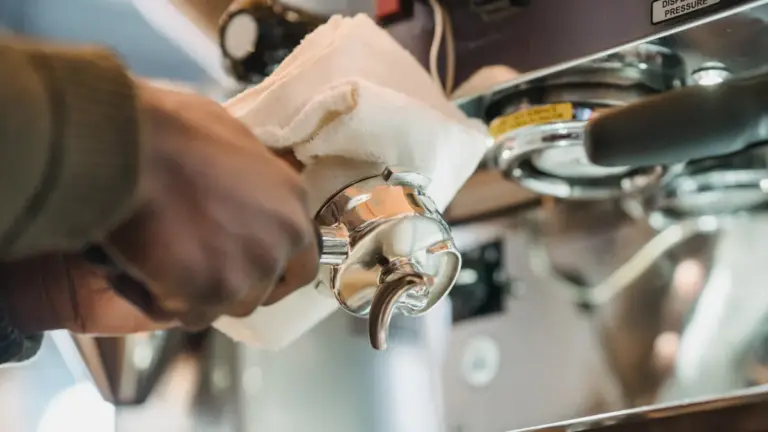
Start with the external parts. Remove and clean the portafilter, basket, and shower screen if your model allows it. A blocked screen can distort the spray pattern and create channeling that looks like grinder trouble. Backflushing, if the design supports it, can clear residue from the brew circuit and check whether the three-way valve is behaving normally.
Descaling is useful when scale is the likely culprit, but it is not a cure for every fault, so a professional check is still wise if the problem returns or the machine shows heating or pressure instability. In some machines, heavy scale can restrict flow enough to mimic pump failure or heat loss. In others, scale removal can reveal a worn seal or a weak pump that was already near the edge. That is why a before-and-after result matters. If the machine improves briefly and then degrades again, the root cause may be water quality, not just residue.
Replacement should come last unless there is a clear failure. Seals, gaskets, hoses, solenoids, and pumps have specific jobs, and swapping them without evidence can create new leaks or alignment problems. A worn group gasket is a better first replacement than a control board on a machine that still heats and pumps. A clogged screen is cheaper and more likely than a dead boiler in many cases.
A practical rule: if the fault changes after cleaning, the machine was probably fouled. If the fault does not change at all after cleaning and a basic descale, the issue is likely deeper in the brew, heat, or electrical path.
When should you stop troubleshooting and get help?
You should stop troubleshooting when the fault involves electrical damage, persistent leaks near wiring, repeated breaker trips, or signs of overheating. Those are not normal user-service jobs. Water, heat, and mains power are a bad mix, and a misstep can turn a repair into a hazard.
A second stop point is a recurring internal leak. If water collects inside the case, drips under the machine, or appears near connectors after a basic inspection, the problem may be a cracked hose, failed clamp, or damaged seal in a hidden area. That kind of fault can corrode contacts and create a bigger failure later. A machine that looks dry on the counter can still be wet inside.
Call for service when the diagnosis depends on measuring voltage, opening the boiler, or working near a capacitor, pump motor, or mains connector. Those tasks need proper tools and a clear repair path. If the machine is under warranty, opening the case may also change your options. A shop can often isolate a part faster than a home user with only the symptom list.
There is also a practical money limit. If the repair requires a heater, pump, control board, and gasket set on an older unit, the labor and parts may exceed the value of the machine. That is not a technical failure; it is a repair decision. The right choice depends on the model, age, and how much the machine still fits the user’s routine.
Which fix should you try first?
The first fix should match the symptom, and the order matters. If there is no flow, check water supply and prime first. If the taste is off but the machine flows normally, adjust grind and prep first. If heat is unstable, let the machine warm fully and compare first and second shots before replacing parts.
| Symptom | Most likely first check | Second check | What not to do first |
|---|---|---|---|
| No water at group | Tank, line, prime | Pump, inlet, solenoid | Replace the boiler |
| Weak shot with normal sound | Grind and dose | Shower screen and basket | Replace the pump first |
| Sour shot after warm-up | Brew temperature | Flush behavior | Descale without evidence |
| Bitter shot after long idle | Overheated brew head | Flush and cooling pattern | Change every setting at once |
| Steam weak but brew works | Scale or steam-side restriction | Safety valve or heater control | Assume the grinder is at fault |
| Loud pump, no flow | Air in line | Blocked inlet or pump failure | Open the boiler immediately |
| Leaking around portafilter | Group gasket or basket fit | Shower screen and clamp | Tighten blindly |
| Trips breaker | Electrical fault | Moisture or damaged cord | Keep running test shots |
That order prevents the most common mistake in espresso repair: fixing the last visible symptom instead of the first failed step. A puck problem can look like a pump problem, and a heat problem can look like a taste problem. The fastest repair path starts with the branch that failed, not the part that looks most dramatic.
What are the exception cases that change the answer?
The overall rule flips when the machine has a known design quirk, when the same fault appears after a recent repair, when the water source changed, or when the symptoms only show up with one basket size. Those cases deserve a different diagnosis because the obvious answer is often wrong.
First, a machine that behaves differently after a descale may have dislodged scale that is now blocking a small passage. The descale did not create a new fault out of nowhere; it exposed one that was already present. Second, a machine that worked yesterday and fails today after a filter change may be reacting to flow restriction or trapped air. In that case, the water path is the better suspect than the heat system.
Third, a fault that appears only on the first shot after 20 minutes idle can be thermal, not mechanical. Heat exchangers, thermoblocks, and single boilers all respond differently to idle time. Fourth, a fault that appears only with one basket or one coffee is often a prep issue, especially if the same machine pulls a good shot with another basket at the same grind. That is a strong sign the issue is not the whole machine.
There is one more exception that matters. If the machine sprays hot water from a leak point, smells burnt, or starts tripping power protection, stop thinking in terms of flavor and start thinking in terms of safety. That is the point where diagnosis becomes a repair question, not a brewing question.
How do you keep the same fault from coming back?
The fault comes back when water quality, cleaning habits, or brewing routine stay the same. Prevention is less about one dramatic repair and more about keeping the water path, gasket, and heat system in stable shape. A clean shower screen and a healthy gasket do more for reliability than a fancy accessory.
Use filtered water that fits the machine’s needs, keep the tank clean, and do not leave stale water sitting in the reservoir for long periods. Scale is one of the main reasons flow and heat problems repeat. Coffee oils are the main reason the shot path gets sticky and uneven. Both are easy to ignore because the machine can still look fine from the outside.
Keep a simple routine. Rinse the portafilter, wipe the basket, purge the steam wand, and empty the drip tray before it overflows. A sticky solenoid or a blocked screen often starts with residue that was easy to see a week earlier. If your machine needs a warm-up ritual, use the same one each time so the temperature profile stays predictable.
The other half of prevention is recordkeeping. Note when the fault appears, which coffee was used, whether the tank was full, and whether the machine had just been cleaned. That turns a vague “it acted weird” complaint into a usable symptom history. On a machine that uses a 58 mm basket and a fixed brew path, that history can be the difference between a quick clean and a pointless part swap.
FAQ
Why does my espresso machine make noise but no coffee comes out?
That usually means the pump is running but water is not reaching the group head. The cause is often an empty tank, trapped air, a blocked inlet, or a stuck valve in the brew path. If water still does not flow with the portafilter removed, the fault is inside the machine rather than in the puck.
Why does my shot taste sour even though the machine heats up?
A sour shot usually means under-extraction, not a dead heater. The grind may be too coarse, the dose too low, or the brew water too cool at the group head. If the first shot is worse than the second, heat stability or flush behavior may be part of the problem.
Why does my espresso machine leak from the portafilter area?
A leak at the portafilter often points to a worn group gasket, a basket that does not fit cleanly, or residue on the sealing surface. If the leak appears only during the shot, pressure is escaping around the group instead of passing through the coffee bed. Cleaning the seal and checking the gasket is the usual first move.
Why is the steam wand weak but the espresso still works?
That usually means the brew side and steam side are not failing in the same way. A heat-exchanger, boiler, or steam valve issue can reduce steam pressure while leaving brewing mostly intact. Scale can also restrict the steam path before it affects every other function.
When should I stop trying to fix it myself?
Stop when the machine trips a breaker, smells burnt, leaks near electrical parts, or shows repeated overheating. Those faults can involve mains power and internal components that are not safe to guess at. If the problem requires opening the boiler or measuring live voltage, it is time for proper service.
Drafted with AI; not yet reviewed by a person.




One thought on “Home Espresso Machine Diagnostics and Troubleshooting”