Last updated: November 19, 2026
Check the brew path, heater, pump, and electrical parts before money changes hands; if the unit leaks, overheats, or fails a basic power test, walk away. A used espresso machine can be fine to buy, but only if the group head gasket, expansion valve, heating element resistance, and pump behavior all look normal under a short live test.
Key takeaways
- A clean exterior means little if the boiler, pump, or wiring fails under load.
- Watch for leaks around the group head, steam wand, drip tray, and bottom panel.
- A blind basket test can reveal weak pump pressure and tired seals.
- Heating problems often show up as strange cycling, slow warm-up, or a heating element that reads wrong on a multimeter.
- Major electrical faults, heavy scale, or corrosion usually make the unit a bad candidate unless a qualified technician has already fixed it.
- This is information, not financial advice; because used-appliance value and repair cost vary, consult a qualified adviser for your own situation if the purchase is a serious budget decision.
What should I check first?

Start with the outside, then move to the water path, because surface wear is easy to fake and internal wear is expensive to fix. A used espresso machine inspection works best in this order: body, leaks, heat, pump, then controls. If the seller will not let you do a 5-minute live test, that is already a red flag.
Look for dents near the corners, missing feet, bent drip tray rails, cracked knobs, and rust at screws or seams. Small scuffs are normal. Rust at the base, white mineral crust around joints, or a smell of burnt plastic points to water damage or heat stress.
Check the water tank, portafilter ears, steam knob, and power cord. A loose portafilter lock or a frayed cord can turn a cheap bargain into a repair bill that never ends. A tidy case with missing hardware is still a caution sign, not a clean bill of health.
How do I inspect a used espresso machine?
Inspect it in one pass from cold to hot so you see what the unit does before and after pressure builds. A 10-minute test is enough to catch many failures, and a multimeter gives hard evidence when the seller says “it works fine.”
- Read the model plate and wiring label. Record the model name, voltage, and serial plate before turning anything on. Verify that the plug and label match the seller’s power setup and that no labels are peeled off or painted over. A missing plate or mismatched voltage can mean the unit was modified, repaired badly, or imported without the right power setup.
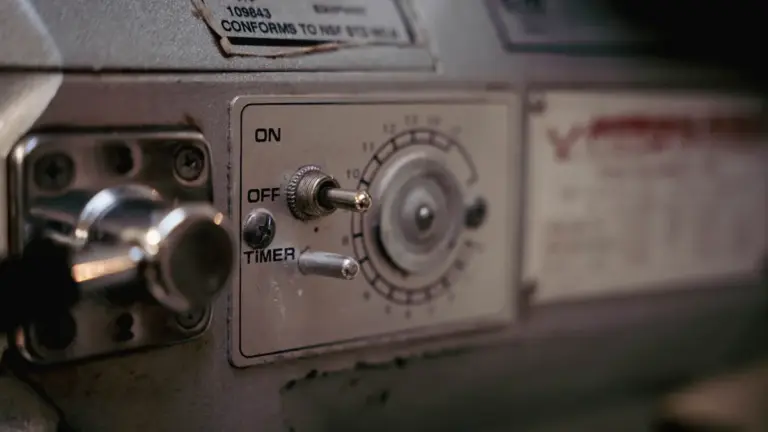
- Inspect the cord, plug, and switchgear. Check the first 1 to 2 feet of cable for cuts, stiff spots, scorch marks, or taped repairs. Flip every switch and knob once. You want firm clicks and clean movement; sticky controls, cracked housings, or heat-darkened plastic point to electrical wear.
- Open the water path visually. Remove the water tank, drip tray, and portafilter, then look into the group head, steam wand tip, and tray cavity. White scale, green corrosion, or brown residue around fittings means the internals have seen hard water or neglect. A little coffee stain is normal; crust around joints is not.
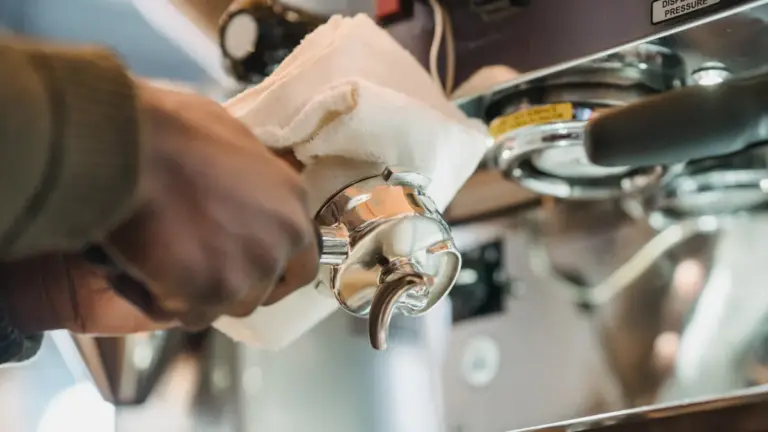
- Check the group head gasket and shower screen. Look for a flattened, split, or hardened group head gasket, the rubber seal that clamps the portafilter against the group head. A worn gasket often leaks at the rim during brewing. The shower screen should sit flat, not bowed or heavily clogged; heavy buildup suggests poor cleaning and can hide deeper scale.
- Run the machine until it reaches temperature. Turn it on and watch for normal warm-up, stable indicator lights, and no burning smell. A unit that cycles wildly, makes loud relay chatter, or trips a breaker has a heater or control fault. If the body gets hot in one odd spot or the pressure rises too fast, that is not normal.
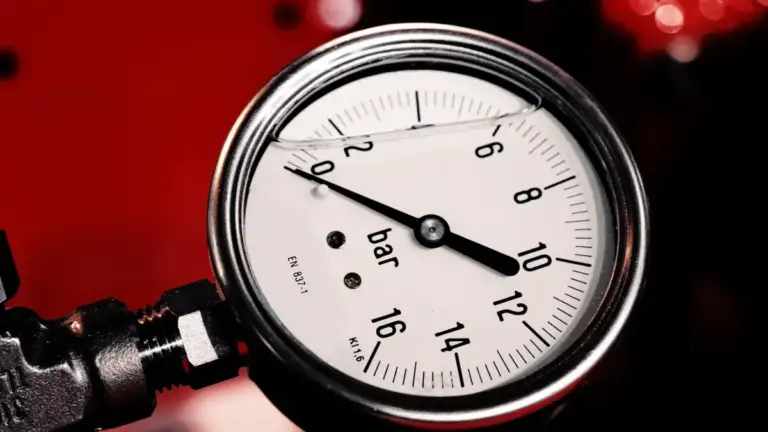
- Test the pump with a blind basket. Fit a blind basket, lock the portafilter in, and run the brew pump for a short burst. You are checking that pressure builds without the sound going thin or rattly. A weak, uneven, or sputtering pump, or water leaking from the group during this test, suggests worn seals, a tired pump, or a bad over-pressure path.
- Listen for the solenoid valve clicking test. The solenoid valve is the electric valve that opens and closes brew pressure. During brew start and stop, you should hear a clear click. No click can mean a dead coil or control issue; a click with water dumping into the drip tray can mean the valve is stuck, scaled, or leaking.
- Measure heating element resistance. With power off and the machine unplugged, use a multimeter to check the heating element resistance across the terminals. The exact reading depends on the model, so you are not looking for one magic number; you are looking for continuity and a sane, stable reading instead of infinity or a dead short. An open circuit, unstable reading, or scorch marks near the terminals is a major warning.
- Check for leaks under load. Brew water through the group and open the steam wand for a short burst. Then inspect the bottom of the cabinet, the hose joints, the pump area, and the expansion valve discharge line. The expansion valve, which protects the brew circuit from excess pressure, should not spray or drip constantly. Repeated leaking during normal operation means worn seals, cracked tubing, or internal corrosion.
For readers who want a broader buying framework, this checklist fits the home-espresso guide on how to choose a home espresso machine, but this page stays on inspection only.
What are the biggest red flags?
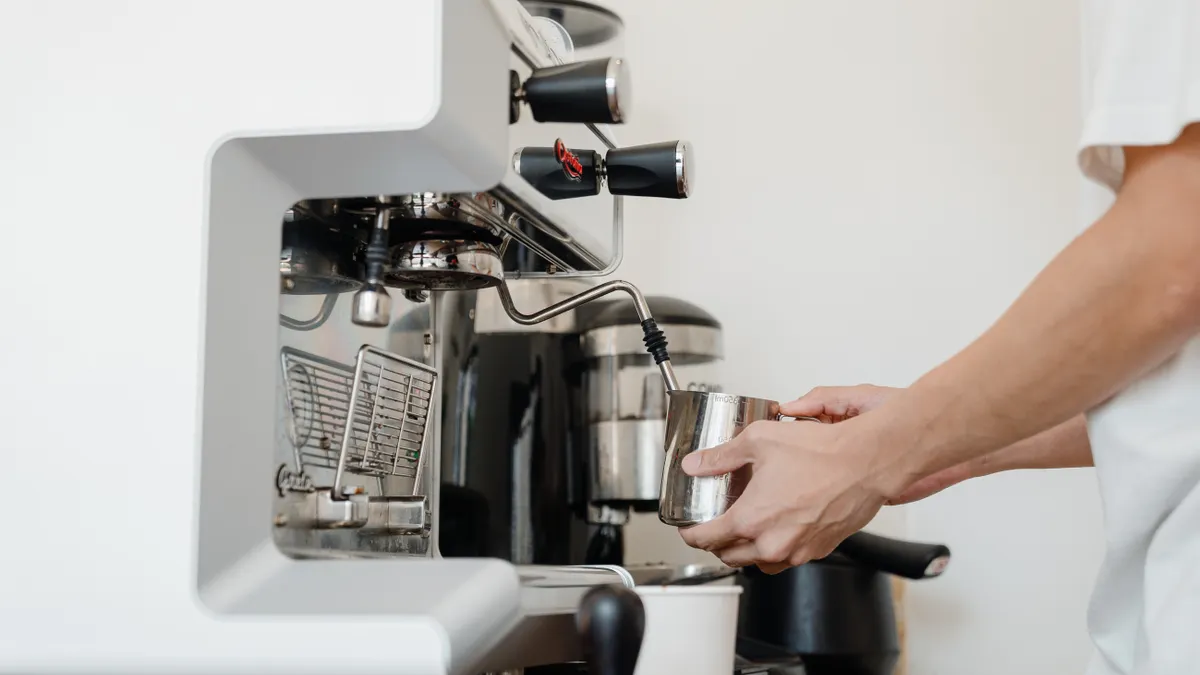
The biggest red flags are leaks, electrical faults, heavy scale, and anything that points to hidden repair work. A shiny shell can hide a boiler full of crust or a pump that is near failure.
| Finding | What it usually means | Why it matters |
|---|---|---|
| Water under the case after warm-up | Failed seal, loose hose, or cracked fitting | Internal leaks can damage wiring and the frame |
| Burnt smell, scorch marks, or melted insulation | Heat stress or electrical fault | The fault may be unsafe or expensive to trace |
| No click from the solenoid valve | Coil, control board, or valve failure | Brew pressure may not route correctly |
| Blind basket test gives weak or erratic response | Pump wear, air leak, or pressure problem | Espresso will be inconsistent and repair may be needed |
| Heavy scale in the tank area or around fittings | Long-term hard-water use | Scale can block valves and reduce heater performance |
| Heating element resistance is open or unstable | Failed element or bad terminal connection | The heater may not recover, or may fail under load |
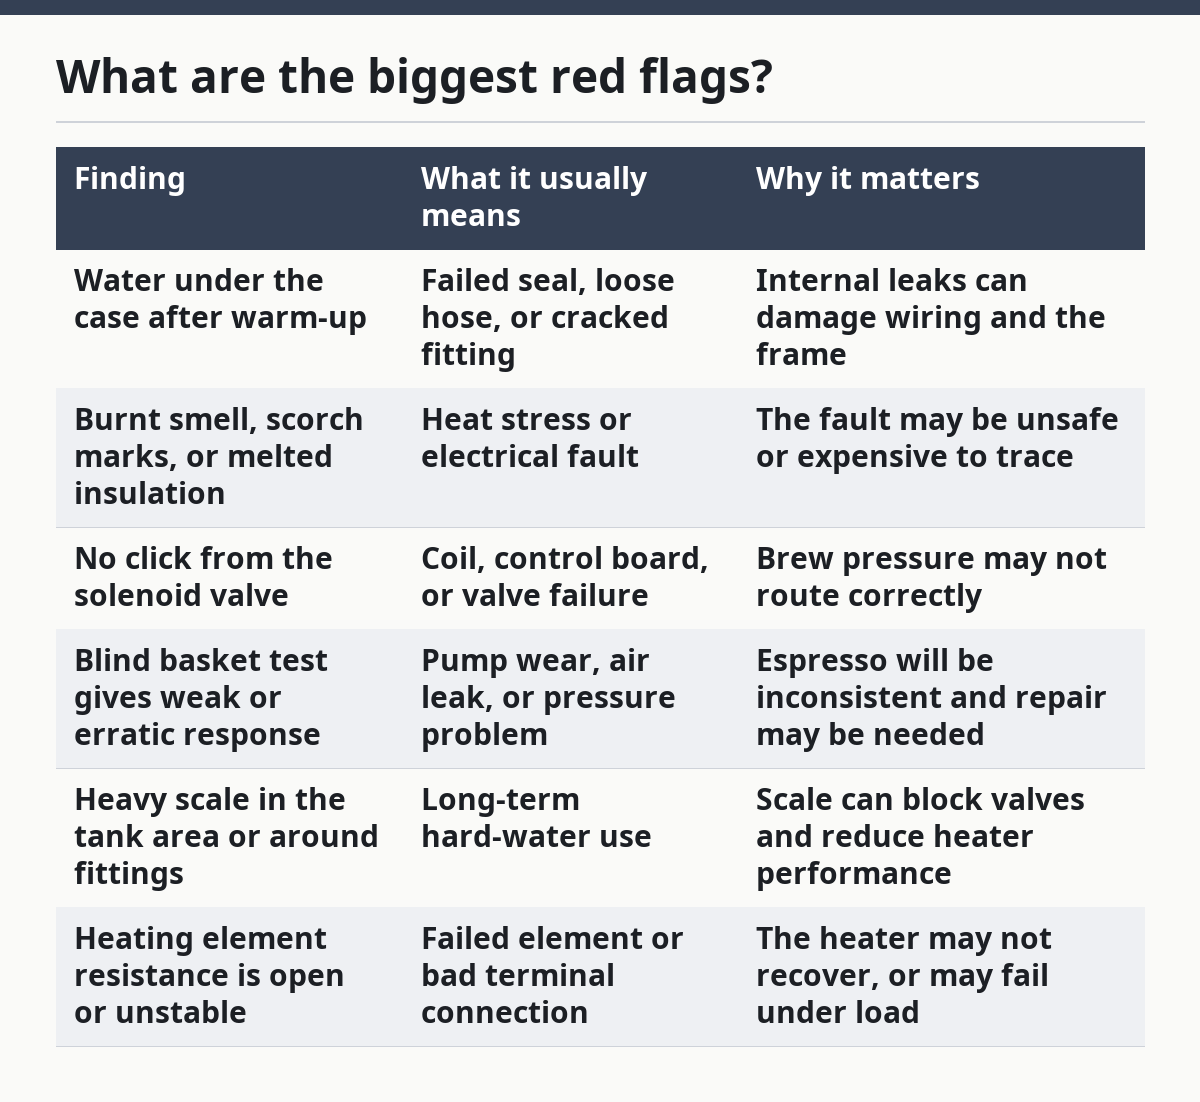
If any of those show up together, treat the unit as high risk. One small issue can be manageable; two or three at once usually means a repair stack that is no longer worth guessing about. Used equipment is not a place to hope the worst problem is the only problem.
When should I stop the inspection?
Stop the inspection when the fault looks deeper than a normal service item or when the seller will not let you see the machine running. The point of a used espresso machine inspection is to avoid hidden repairs, not to diagnose every fault on the spot.
Water leaking from the bottom panel: This can mean a failed internal hose, cracked boiler joint, or bad seal — stop and assume repair work is needed before use.
The plug, cord, or switch is heat-damaged: This points to electrical stress — do not continue until a qualified technician has checked it.
The unit trips power, smokes, or smells burnt: That suggests a serious electrical fault — do not power it again.
The boiler or case has heavy scale and corrosion: This means the internals have seen hard use and likely need more than a rinse — move on unless the seller already has proof of a recent service.
The blind basket test is weak or chaotic: The pump, seals, or pressure control may be failing — expect a repair bill, not a quick fix.
The seller refuses a live test: You cannot verify heat, pressure, or leak behavior — treat that as a no.
What mistakes do people make?
The most common mistake is judging by cosmetics. A polished front panel hides very little about boiler condition, pump wear, or wiring health, and a deep clean can make a tired unit look presentable for 5 minutes.
Another mistake is skipping the live test because the seller says the unit “worked last time.” Machines fail after storage, especially when seals dry out or scale breaks loose. If it has sat unused, the first startup matters more than the story around it.
A third mistake is confusing steam power with brew health. Strong steam does not prove the brew pump is healthy, and a hot cup does not prove the expansion valve is working. The pump, solenoid, and heater each need their own check.
A fourth mistake is ignoring the group head gasket because it is a small part. A cheap gasket is not the issue; the issue is what its condition says about service history. A split or hardened gasket often travels with other neglected parts.
A fifth mistake is using the wrong expectation for the model. Some machines use a pressurestat, some use electronic control, and the exact heating behavior differs. The fix is not to guess the ideal sound or cycle; it is to look for stable, normal behavior for that design.
When does the standard check change?
The standard check changes when the machine is dual boiler, heat exchanger, or heavily modified. Those designs can have extra parts, extra noise, and different warm-up behavior, so a simple “it sounds fine” judgment is too loose.
With a heat exchanger unit, brew water and steam water share more plumbing, so scale in one section can affect another. Pay closer attention to the expansion valve discharge and any unusual flushing from the group. With a dual boiler unit, check both heaters, not just the brew side.
If the seller says the machine was repaired, ask for the exact parts replaced and then test the same areas again. A new pump does not clear a bad valve; a new gasket does not clear a bad heater. If the repair history is vague, treat it as unknown, not as proof.
If the machine is very old, the question changes from “does it work today?” to “can common parts still be serviced?” That is especially important for group gaskets, pumps, solenoids, and heaters. A machine that works only with rare parts can become a dead end fast.
How do I judge the result?
A good result is simple: the machine powers on cleanly, heats without drama, seals well under brew pressure, and shows no leak, scorch, or scale pattern that looks like long neglect. The blind basket test should sound steady, the solenoid should click, and the drip tray should stay where normal splash belongs.
A fair result is one small service item, like a tired gasket or a dirty shower screen, with the rest of the inspection passing. That can still be reasonable if the rest of the unit is sound. The hard part is separating a normal used wear item from the start of a larger repair list.
A bad result is any mix of water, heat, and electricity problems. That combination is where costs stack up fast, and it is the point where the inspection has done its job by saving you from a poor fit.
What should I look for when buying a second hand espresso machine?
Look for proof that the unit heats, seals, pumps, and drains without hidden faults. A clean cabinet matters less than a sound group head gasket, a working solenoid valve, normal pump response, and no leaks from the base or fittings. If any of those fail during a 5- to 10-minute live test, treat the machine as high risk.
How to test an espresso machine before buying?
Test it from cold, then hot, then under brew load. Check the cord and switches first, watch the warm-up, run a blind basket test, listen for the solenoid click, and inspect for leaks at the group, steam wand, and bottom panel. If you have a multimeter, confirm heating element resistance is not open or shorted, because that catches faults a visual check can miss.
Drafted with AI; not yet reviewed by a person.